

In short
Premiere Pro's transitions sit in the Effects panel, under Video Transitions. Since version 25.5 they include more than 90 Film Impact effects and transitions at no extra cost, and Shift+D drops the default one on a selected edit point. Plugins now add two things: large stylised packs, and help placing them.
In this article · 9 sections
- Where are the transitions in Premiere Pro?
- What is the default transition in Premiere Pro, and how long does it last?
- How do you add a transition to every cut at once?
- Why does Premiere say there is insufficient media for a transition?
- Can you save a transition as a preset in Premiere Pro?
- What do transition packs and plugins actually add?
- Black Hat Editor Tools: what our Transitions gallery does
- When should you skip the transition?
- The short version
I build Black Hat Editor Tools, one of the tools below. Prices were read on each vendor's page on 29 September 2026.
Where are the transitions in Premiere Pro?
Open the Effects panel (Window > Effects) and expand Video Transitions; crossfades sit under Audio Transitions1.
Four things changed recently, and most tutorials predate them:
- Film Impact is built in. Premiere 25.5 added "more than 90 new, modern effects, transitions and animations" from Adobe's acquisition of Film Impact, "all included in your plan" and GPU-accelerated2.
- Cross Dissolve is a new effect. Since 26.0 it runs on Film Impact's dissolve; the old one became Cross Dissolve (Legacy), in the Legacy folder3.
- Old projects keep the old one. Adobe's community manager: a v25 project reopened in 26.1.1 shows its dissolves "labelled on the timeline as 'Cross Dissolve (Legacy)'"4.
- Film Impact is no longer a separate product. On 29 September 2026, filmimpact.com and its transitions pages redirected to Adobe's own Premiere pages.
right-click the new Cross Dissolve in the Effects panel and set it as the default5.
What is the default transition in Premiere Pro, and how long does it last?
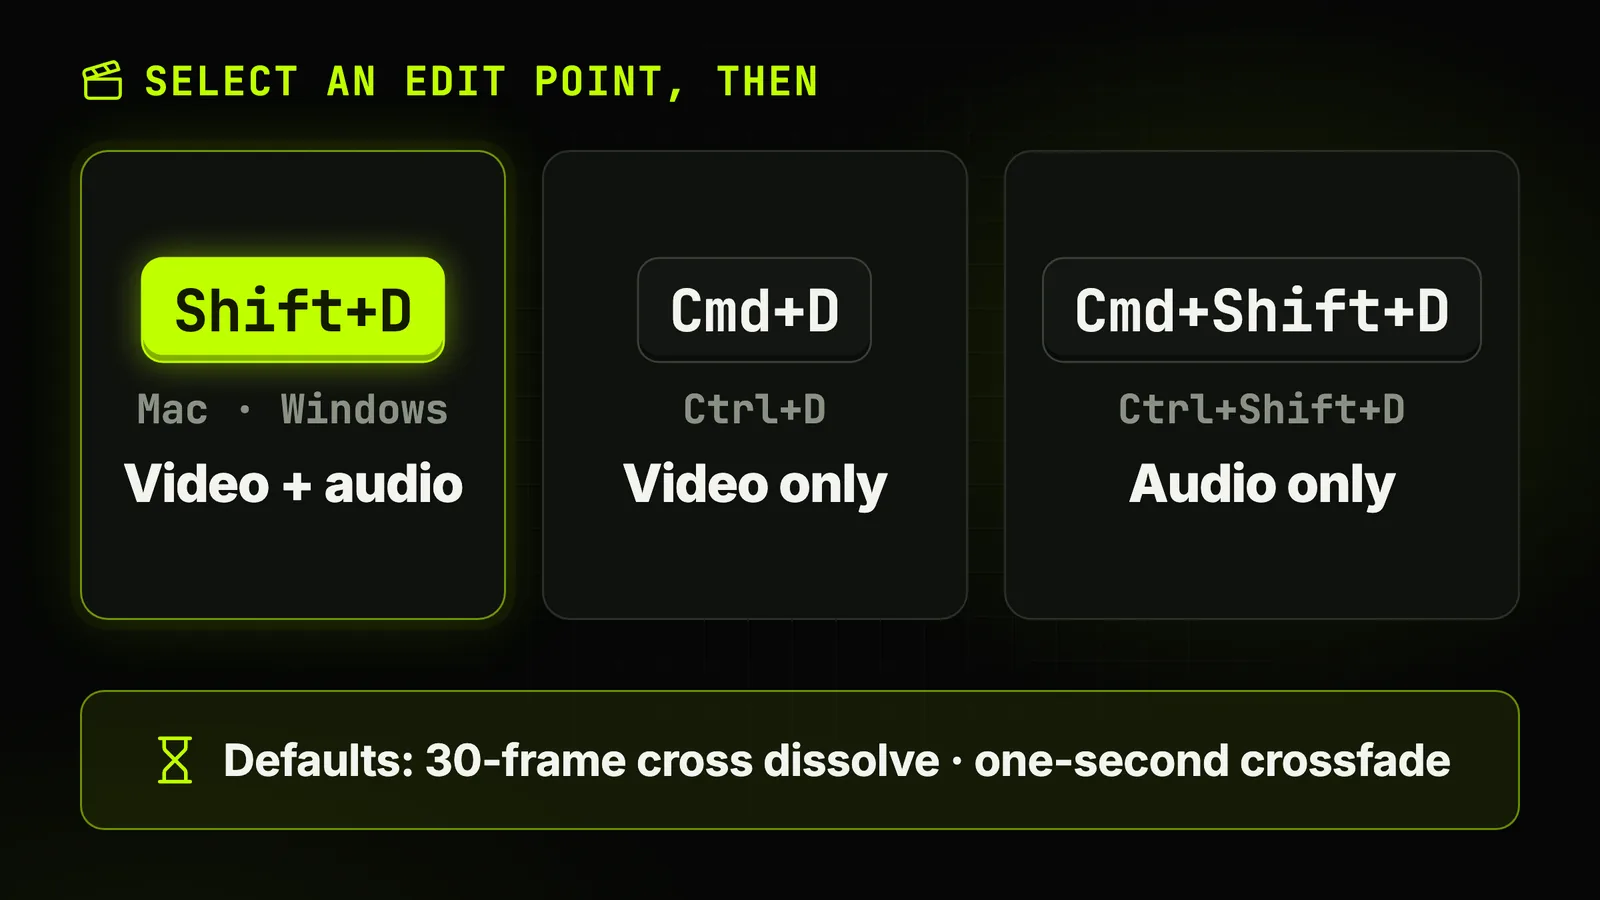
Adobe's tutorial: "By default, you get a 30-frame cross dissolve and a one-second crossfade"6. Select an edit point, then press:
| Shortcut (Mac / Windows) | What it adds |
|---|---|
| Shift+D | The default video and audio transitions |
| Cmd+D / Ctrl+D | The default video transition only |
| Cmd+Shift+D / Ctrl+Shift+D | The default audio transition only |
- Length set Video Transition Default Duration in Premiere's Timeline preferences.
- Which transition right-click one in the Effects panel and make it the default.
How do you add a transition to every cut at once?
Premiere does it natively: for one dissolve on every cut, you need no plugin.
- Pick the default. Right-click the transition you want in the Effects panel and make it the default.
- Set its length. Video Transition Default Duration, in the Timeline preferences.
- Select the clips. Shift-click them, or drag a marquee around them on the timeline.
- Apply.
Sequence > Apply Default Transitions to Selection, or Shift+D. - Check the edges of the selection. Adobe applies the transition "to every edit point where two selected clips touch", not where a selected clip meets an unselected one or an empty track.
Sources1
What Premiere will not do is choose. Every selected cut gets the same transition; deciding which deserve one is your job.
Why does Premiere say there is insufficient media for a transition?
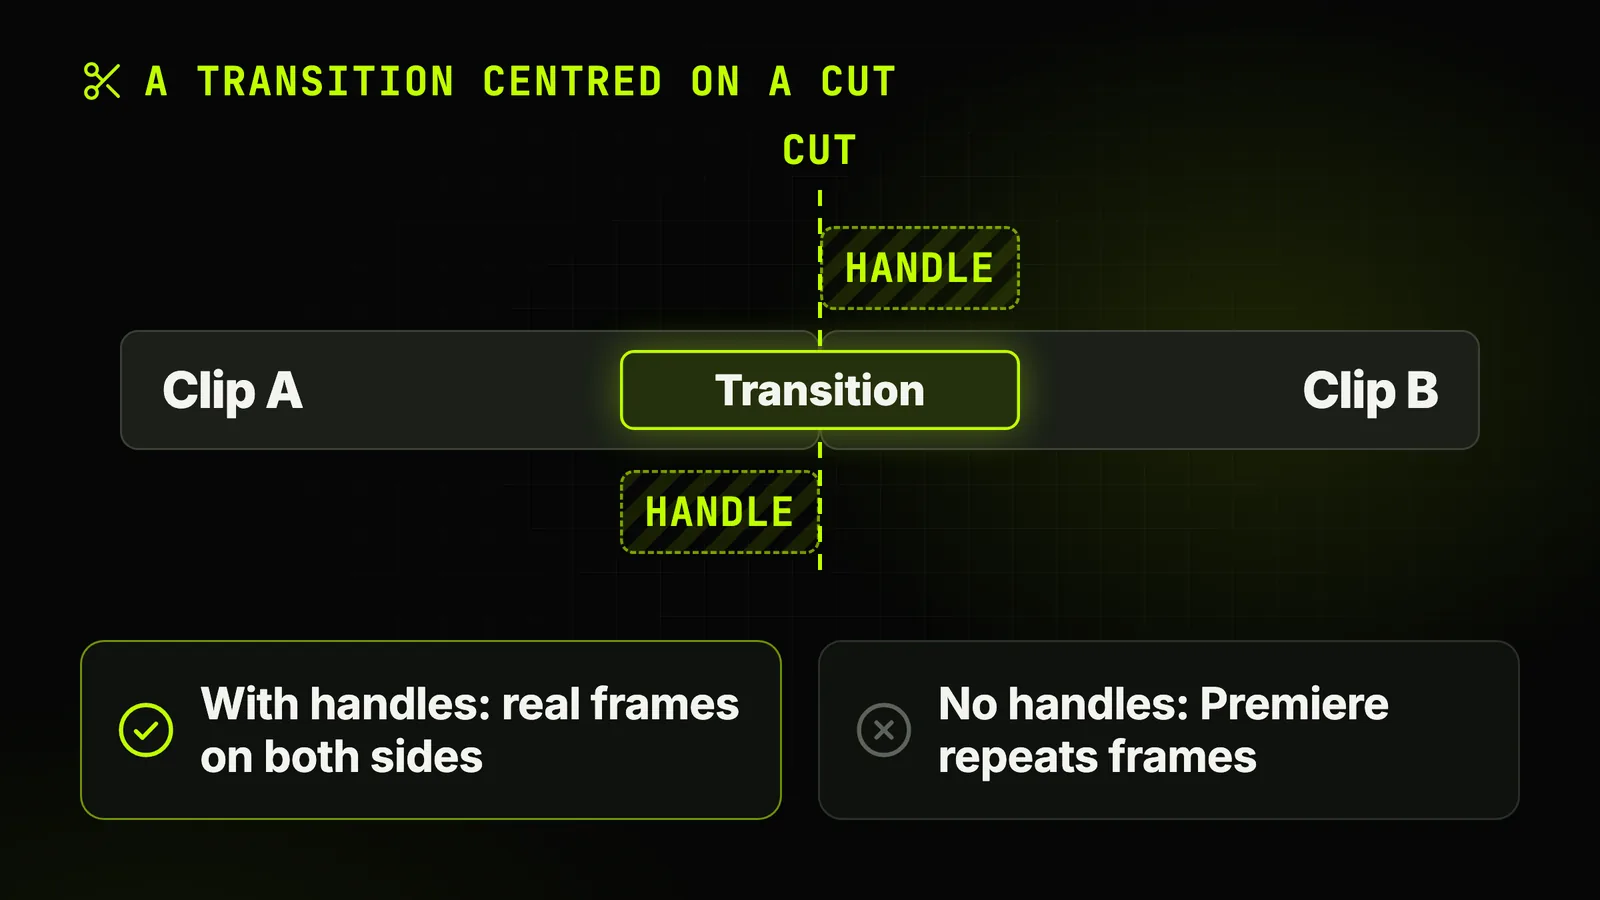
A transition centred on a cut borrows frames: clip A runs past the cut, clip B starts before it.
Those unused frames are called handles. Without them, Adobe says Premiere "will need to force the transition by repeating frames"6. On screen, it is a short freeze. Four fixes:
- Give it handles. Trim a few frames off the end of clip A and the start of clip B, so each keeps unused media past the cut.
- Shorten the transition to what the media allows.
- Move it off the centre. Drag it so it starts or ends on the cut: it then needs frames from one clip only.
- Extend the clip. Adobe's Generative Extend can "extend the beginning or end of a video clip by up to two seconds"6.
Can you save a transition as a preset in Premiere Pro?
Yes, and there are three places to keep one.
- As a transition preset, duration included. In Premiere 2026 you right-click the fx badge of a transition: "You can save a preset — and what's far more important is that you can save the duration with it"5.
- As an effect preset on an adjustment layer. Zoom, whip and spin transitions are usually keyframes on an adjustment layer over the cut. The method is the one in our guide to automatic zoom in Premiere Pro.
- In a plugin's library. Our gallery's Save preset keeps your own transitions for every project; it is described below.
What do transition packs and plugins actually add?
Two names come up first: Film Impact and Motion Bro. Film Impact is now part of Premiere.
| Tool | What you get | Price (29 Sep 2026) | Free option | Runs in |
|---|---|---|---|---|
| Premiere Pro, native | 90+ Film Impact effects and transitions, plus the classic set | Included in your Premiere plan | Included | Premiere |
| Film Impact | Now part of Premiere; its site redirects to Adobe | No longer sold separately | Included in Premiere | Premiere |
| Motion Bro | Free plugin that installs and applies preset packs | Packs sold separately (prices on its site) | Free plugin | Premiere, After Effects |
| Black Hat Editor Tools | A gallery for your presets, one-click placement, saved presets | Transitions are in the free plan; paid plans from $15/month | Free plan, no card | Premiere Pro |
Sources278our pricing
Premiere's own transitionsthe free baseline
Since 25.5 the built-in set is GPU-accelerated and plays "in real time as soon as you drag and drop", says Adobe.
It covers dissolves, blurs, wipes, glitches and 3D moves.
price. Nothing to install or renew, and anyone opening your project sees the same transitions.
volume. Camera moves, light leaks and film burns by the hundred.
Motion Bropacks one by one
The Motion Bro plugin is free ("download for free") and installs preset packs sold separately9.
- July 2026 update: "Added a Fix Transition Timing panel for Premiere transitions".
paying once for the exact style you need.
the built-in set costs nothing extra, while Motion Bro's packs are sold separately.
Black Hat Editor Tools: what our Transitions gallery does
Transitions go on cuts. In our panel, AutoCut makes them: it removes silences and leaves the joins on track V1.
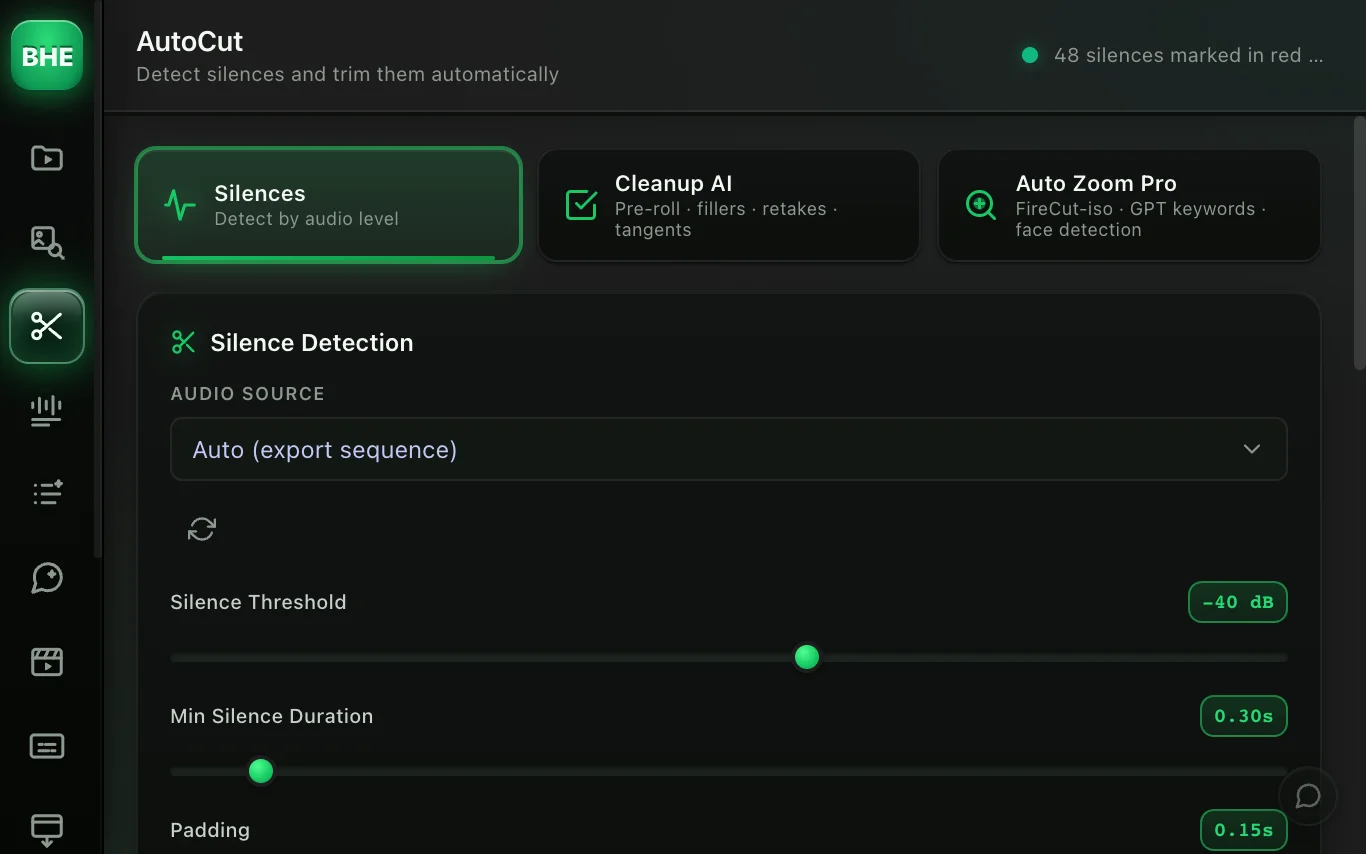
The Transitions gallery is where you dress those joins. Here it is, rendered from the real panel with demo presets.
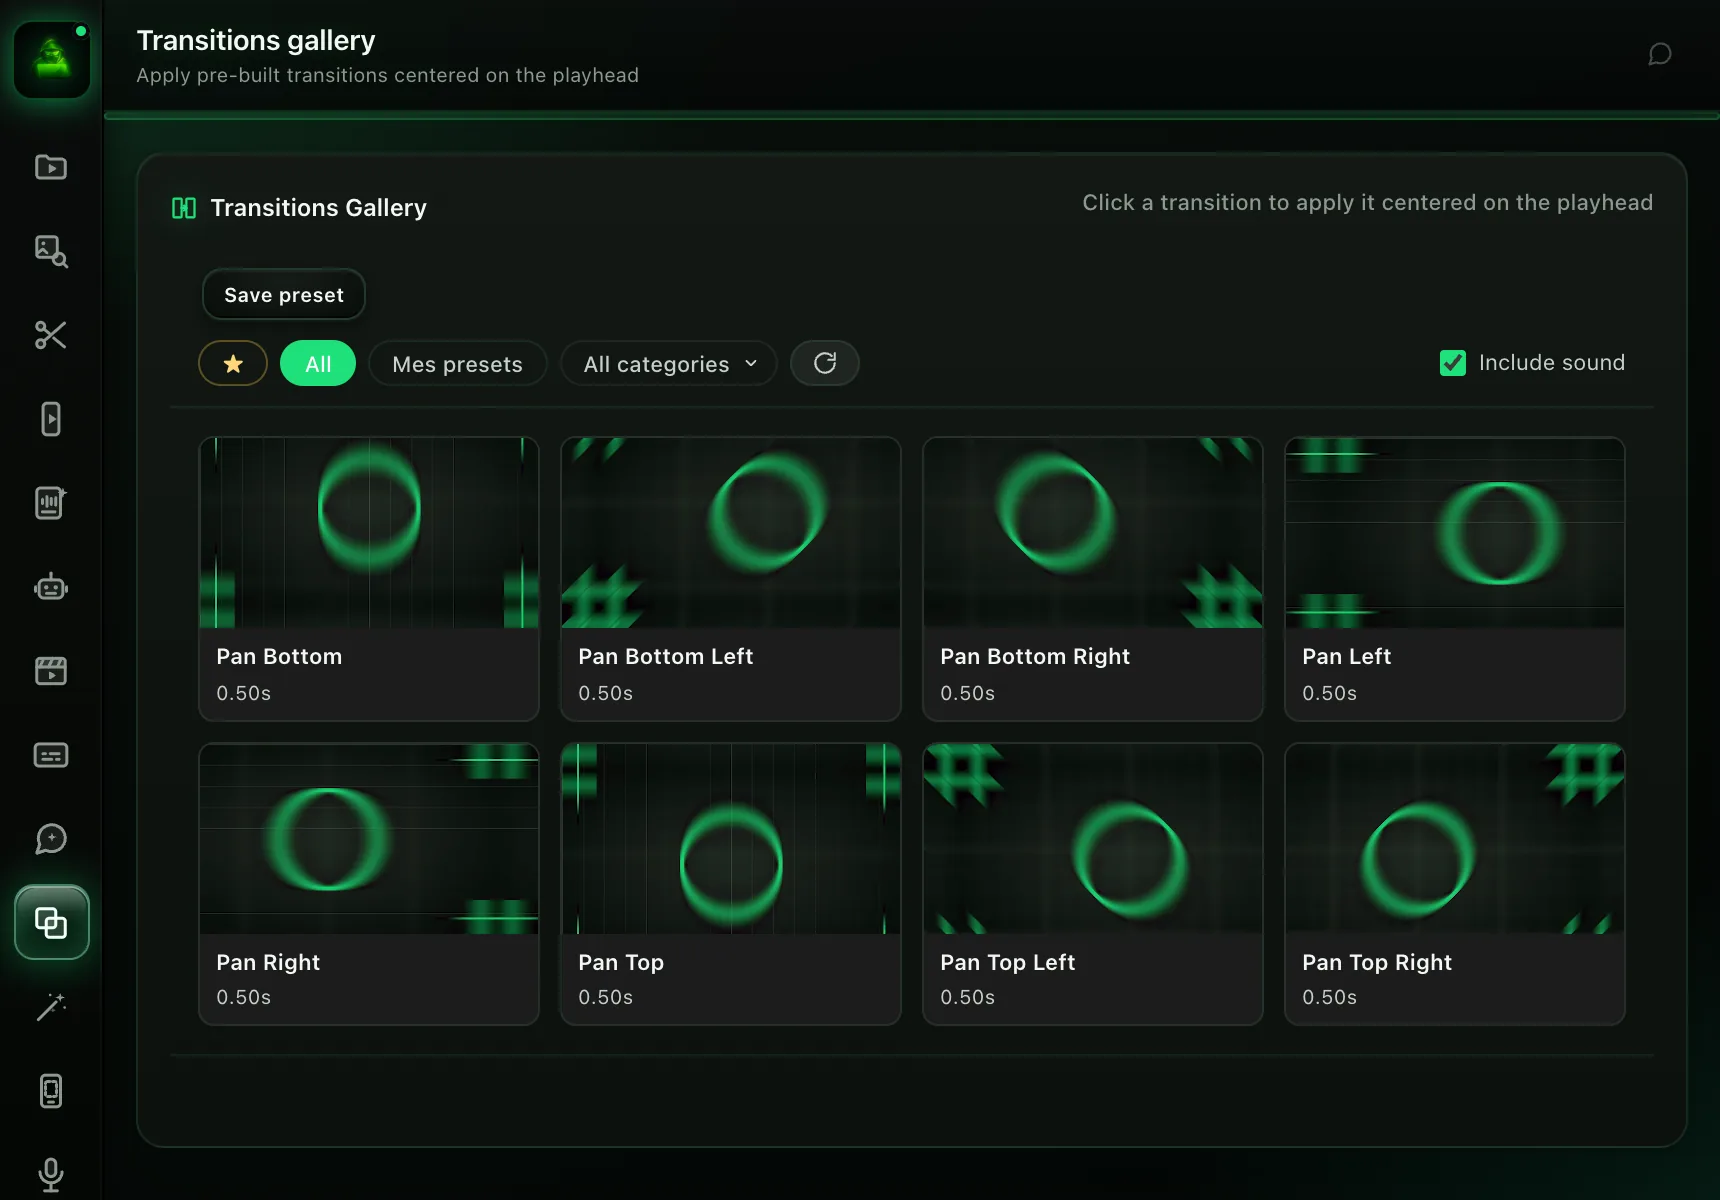
What it does, from the code that ships today:
- One gallery. The presets that ship with the plugin and the ones you save, in one list.
- One click, at the playhead. A card places its transition centred on the playhead.
- Your own presets. Select the layers that make your transition, click Save preset, name it, put a marker on the cut and confirm. It then works in every project.
- Categories. Eight to start with (zoom, pan, rotation, shake, glitch, fade, impact, other), plus any you create.
- Sound. A preset can carry its own sound effect, and the Include sound box decides whether it comes along.
- A few at once. In the AutoCut tab, the Auto Transition mode reads the cuts on V1 and proposes "a few transitions at the strongest moments, not one on every cut", by rule or with the AI you selected. You review the plan, then place it.
The path, once the plugin is installed:
Window > Extensions > Black Hat Editor Tools › Transitions gallery › Save preset
a transitions pack. For one dissolve on every cut, Premiere's Shift+D is faster.
- Free plan the Transitions gallery is included; an account, no card.
- Essentiel $15/month, or $12/month billed annually.
- Pro trial 14 days, card required, then $40/month unless you cancel (pricing).
Installing takes four steps, listed on the plugin installation page.
When should you skip the transition?
A cut is the default in editing; a transition is punctuation. Here is when it hurts more than it helps.
- Jump cuts in a talking head. A punch-in hides the join better than a dissolve; see automatic zoom in Premiere Pro. A cutaway works too: AI B-roll in Premiere Pro covers it.
- Mid-sentence. A transition that lands inside a word points at the edit instead of hiding it. Clean the silences first, with our silence removal guide.
- A different effect on every cut. Pick one or two families per video and repeat them.
- Three effects for one job. A zoom transition, a punch-in and a whoosh on the same cut all say "cut here".
- Under your captions. Effects on an adjustment layer affect every video track below it10. If your captions are clips on a video track, keep them above the transition layers; our ranking of caption plugins for Premiere Pro covers the options.
The short version
Premiere Pro's own transitions have never been better: the Film Impact set is built in, GPU-accelerated and included.
Buy a pack for looks you cannot build, and a plugin to place and keep them, not for the dissolve. The rest of the field is in our review of AI plugins for Premiere Pro.
Frequently asked questions
How do I add a transition to all clips in Premiere Pro?
Select the clips, then choose Sequence > Apply Default Transitions to Selection, or press Shift+D.
Premiere adds the default transition wherever two selected clips touch. Set the default and its duration first.
What is the default transition duration in Premiere Pro?
Adobe's tutorial: "a 30-frame cross dissolve and a one-second crossfade" by default.
Change it with Video Transition Default Duration, in Premiere's Timeline preferences.
Is Film Impact free now?
Yes, for Premiere users: since version 25.5 (September 2025), more than 90 Film Impact effects and transitions ship inside Premiere.
On 29 September 2026, filmimpact.com redirected to Adobe's Premiere pages.
Why is my default transition "Cross Dissolve (Legacy)"?
Since Premiere 26.0, Cross Dissolve is Film Impact's dissolve; the old effect became Cross Dissolve (Legacy).
Older projects keep it. Right-click the new Cross Dissolve in the Effects panel and set it as the default.
Are there free transitions for Premiere Pro?
Yes. Premiere's built-in set, Film Impact included, costs nothing extra.
Motion Bro's plugin is free (its packs are sold separately), and so is our Transitions gallery.
What is the best transitions plugin for Premiere Pro?
It depends on the job. Nothing to install or pay: Premiere's own, Film Impact included. Paying once per style: Motion Bro.
Your own presets in one place, a few placed at once: Black Hat Editor Tools. The same dissolve everywhere: Shift+D, no plugin.
Why does my transition show repeated frames?
The clips have no handles, so Premiere repeats frames to fill the transition.
Trim a few frames on each side of the cut, shorten the transition, start or end it on the cut, or use Generative Extend.
Sources 10 links
- helpx.adobe.com/premiere/desktop/add-video-effects/apply-video-transitions/Adobe help
- blog.adobe.com/en/publish/2025/09/09/introducing-more-than-90-new-effects-Adobe, September 2025
- helpx.adobe.com/premiere/desktop/add-video-effects/effects-and-transitions-Adobe help
- community.adobe.com/bug-reports-733/why-is-my-default-transition-suddenly-crossAdobe community
- provideocoalition.com/tool-tip-tuesday-for-adobe-premiere-pro-fix-your-cross-dissProVideo Coalition
- adobe.com/learn/premiere-pro/web/premiere-pro-add-transitions-ccAdobe, January 2026
- filmimpact.com/premiere-pro-transitions
- motionbro.com/productsmotionbro.com, Premiere products
- motionbro.com/pluginMotion Bro
- helpx.adobe.com/premiere/desktop/add-video-effects/apply-video-effects/creaAdobe help