Automatic zoom in Premiere Pro: the native method and the plugins (2026)
Premiere Pro has no automatic zoom. Here is the free route — Scale keyframes on an adjustment layer saved as an effect preset — and the plugins that place punch-ins for you, with the settings that stop zooms looking cheap.
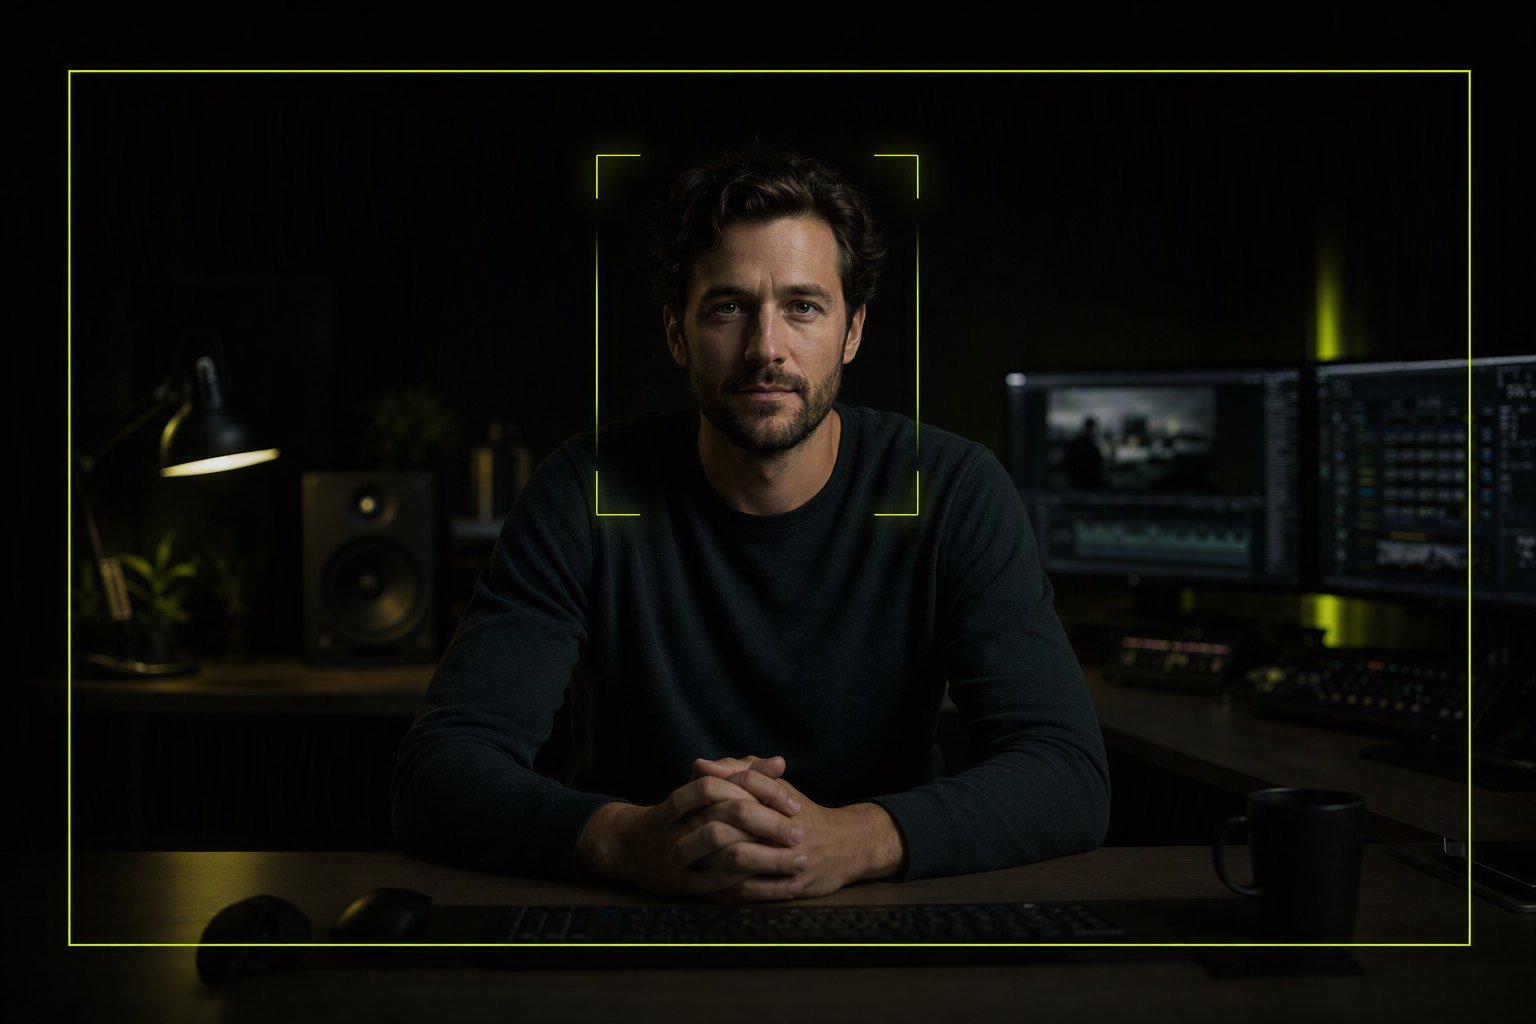
Premiere Pro has no automatic zoom. The free route is a pair of Scale keyframes on an adjustment layer, saved as an effect preset and dropped on every cut. Plugins — FireCut, AutoCut, PremiereCopilot, Black Hat Editor Tools — place the punch-ins for you from cuts, keywords or face detection, from $0 to $20 a month.
I am a video editor and I built one of the tools mentioned below, so the free method comes first and in full. If a saved effect preset covers your channel, you do not need to buy anything.
Why do talking-head editors zoom at all?
Not for a number on a dashboard. For three concrete reasons any editor can verify on their own timeline:
- A static frame reads as a static video. One camera, one focal length, one framing for eight minutes: nothing on screen changes except the mouth. A punch-in is the cheapest possible change of shot when you only shot one angle.
- It hides the cut. When you remove silences, you leave jump cuts. A scale change across the cut makes the join read as an edit rather than a glitch — the same trick as a cutaway, without any B-roll.
- It points at the important sentence. Tightening on the face for the payoff line is the grammar of every interview ever shot. Automation does not invent that idea; it just stops you keyframing it eighty times.
Be suspicious of anyone quoting you a retention percentage for punch-ins. The honest version is the one above: zooms exist because a single-camera talking head has no other way to change shot.
Does Premiere Pro have an automatic zoom?
No. Premiere has Auto Reframe, which is a different feature: it repositions and scales a clip to fit another aspect ratio, tracking the subject so it stays in frame. Adobe's documentation describes choosing a motion preset — Slower Motion for interviews with little camera movement, Default, or Faster Motion for action — and editing the resulting keyframes in Effect Controls afterwards (Adobe help).
Auto Reframe solves "16:9 to 9:16". It does not decide that this sentence deserves a punch-in. Nothing in Premiere does, including the 26.5 release of September 2026, whose new automation went into generative media in the timeline and Paper Edit (Adobe, September 2026).
So the choice is: build the preset yourself, or install a plugin.
How to zoom in Premiere Pro without a plugin: the effect preset method
Ten minutes once, then one drag per zoom forever. Do it on an adjustment layer so your original clips stay untouched.
- Create the adjustment layer. In the Project panel,
File > New > Adjustment Layer, accept the sequence settings, drag it onto a video track above your clip and trim it to the length you want the zoom to last — 12 to 20 frames for a punch, 4 to 10 seconds for a slow push. - Open Effect Controls with the adjustment layer selected (
Shift+5). You will useMotion > ScaleandMotion > Position. - Set the first keyframe. Put the playhead at the start of the layer, click the stopwatch next to Scale to start animating, and leave the value at 100.
- Set the second keyframe. Move the playhead to the end of the layer and type your target scale — 108 for a normal YouTube punch, 104 for something barely felt, 120 if you are cutting vertical.
- Recentre on the face. Adjust Position so the eyes stay roughly on the upper third. On a centred talking head you rarely need more than a few pixels; off-centre framing needs both X and Y.
- Soften the ends. Select both keyframes, right-click, Ease In and Ease Out. This is the step people skip, and it is the single difference between a zoom that looks intentional and one that looks like a mistake. Then open the velocity graph (click the triangle next to Scale) and drag the handles out to stretch the acceleration.
- Save it as a preset. Select the Motion effect in Effect Controls, right-click, Save Preset. Name it, and choose Anchor to In Point so the animation always starts where you drop it, whatever the clip length.
- Use it. Your preset now lives in the Effects panel under Presets. Drag it onto any adjustment layer. Make two or three variants — Subtle, Punch, Slow push — and you have covered a whole channel.
The hard limit of this method: you still decide where every zoom goes, and you still cut and place every adjustment layer. On a ten-minute talking head with thirty punch-ins, that is thirty manual decisions and thirty drags. That is exactly the work the plugins automate — nothing more, nothing less.
What the plugins actually automate
They do not invent a better zoom. They decide where the zoom goes and place the layers. Prices read on 26 September 2026.
| Tool | Where zoom lives | What triggers a zoom | Price for the zoom feature |
|---|---|---|---|
| Premiere Pro | Adjustment layer, by hand | You | Included in your Adobe plan |
| FireCut | Zoom cuts | Sentence emphasis, key phrases, face detection | Pro tier, $34/mo ($20/mo yearly) |
| AutoCut | AutoZoom module | Part of the 10+ module AI plan | AI plan, $19.80/mo ($14.90 yearly) |
| PremiereCopilot | Auto Zoom | Included in free and paid tiers | Free, 4 zoom/viral/chapter runs a day · Pro+ $7.99/mo for 10× |
| Black Hat Editor Tools | Auto-Zoom | Keywords and AI, sentence boundaries, cut points, AI markers, transcript selections | Included in the free plan (no card) |
Sources: firecut.ai/pricing/all · autocut.com/en/pricing · premierecopilot.com/en/pricing · blackhateditors.com/pricing.md.
The one thing to check before you trust any of them on a client project: does it write onto adjustment layers, or onto your clips? Layers you can select, nudge and delete as a group. Scale keyframes baked into the clips themselves mean undoing by hand, one clip at a time.
How our Auto-Zoom works, specifically
Auto-Zoom ships 9 presets — Hormozi punch, Vertical Shorts, Captivate, Cinematic slow, YouTube standard, Transcript-driven, Strong opening, Silence-driven, Subtle breathing — and 3 intensity levels with published ranges: subtle 102–110%, medium 108–120%, aggressive 115–138%. On top of that: 7 shape profiles and 5 easing curves.
Five trigger modes decide placement: keywords and AI, sentence boundaries, cut points, AI markers, or your own transcript selections. Face detection runs locally — an SSD MobileNetV1 model inside the plugin, no server, no frame leaving your machine, and it retries at several offsets in the clip if it finds no face on the first frame. Every zoom lands on its own adjustment layer on a dedicated track, so your clips are untouched and you can select the whole track and delete it.
Cine mode stacks two layers: a slow oscillating drift on 8-to-14-second cycles, plus punch zooms on the moments of impact. That is the documentary look — the frame is never quite still, and the punches land on top of a movement that was already there.
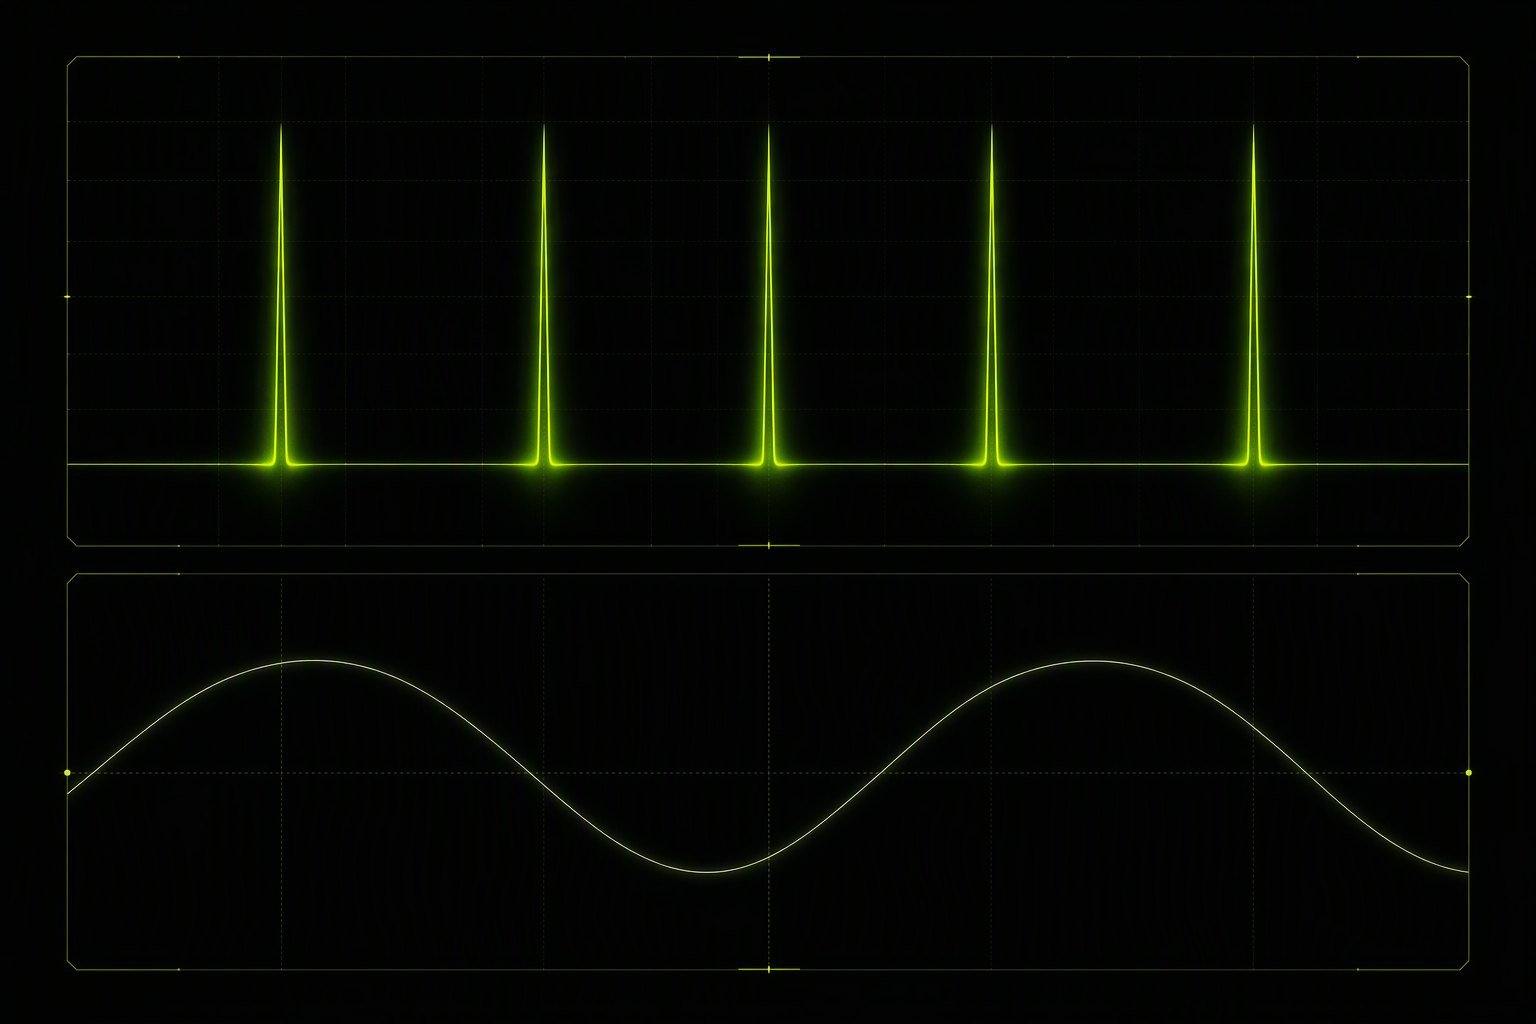
The practical detail people miss: a drift under a punch hides the punch's start. A zoom that begins from an already-moving frame is much harder to spot than one that begins from a locked-off shot.
The settings that stop zooms looking cheap
Five numbers explain every bad automatic zoom you have seen.
- Amplitude. Above roughly 120% on a talking head, the shot stops being a punch-in and starts being a crop. 104–112% is the range that reads as intentional. Keep 115–138% for vertical, where the viewer expects aggression.
- Duration. Under 8 frames it snaps and looks like a glitch; over 3 seconds it becomes a push and needs a reason. Punch: 10–18 frames. Push: 4–10 seconds.
- Easing. Linear scale is the tell of an automated edit. Ease in and ease out, and stretch the velocity handles. Every tool above exposes this; most defaults are too abrupt.
- Frequency. More than one zoom every 8 to 10 seconds on long-form and the video starts breathing wrong. Short-form tolerates one every 2 to 3 seconds because everything else is dense too.
- Resolution headroom. Scaling past 100% on footage that matches the sequence resolution means interpolating pixels, and it softens. Shoot 4K for a 1080 timeline and you have room up to 200% at native pixels. This is the argument for filming wider than you need, and it costs nothing.
One more, which is not a number: alternate direction and framing. Thirty identical 108% punches centred on the same face is still monotony, just faster monotony. Vary the target scale a few points, and push off-centre sometimes.
When you should not zoom
Automation has no taste. These are the cases where you turn it off or delete what it placed:
- The camera already moves. A gimbal shot, a slow dolly, a handheld frame: adding a scale ramp on top gives you two movements fighting each other.
- There is text on screen. Lower thirds, captions and titles drift or clip when the layer under them scales. Place the zoom pass first, decorate second — the same ordering mistake that leaves automatic subtitles misaligned.
- On B-roll. The B-roll is already the change of shot. Zooming it is decoration on decoration.
- Mid-gesture. Punching in while someone's hand crosses the frame reads as a mistake. Land the zoom on the start of a sentence, not in the middle of a movement.
- On the emotional beat of an interview. A well-delivered pause does not need help. Leave the frame alone and let the silence work.
- On footage that is already tight. If the shot is a close-up, there is nothing left to punch into. Zoom needs headroom in the framing, exactly as it needs headroom in the resolution.
Putting it in the right order
The zoom pass is not the first thing you do. Cut the silences and the retakes first, because every ripple edit shifts anything already placed on upper tracks — and adjustment layers are on upper tracks. So: remove the silences, clean the retakes, then place the zooms, then captions, music and B-roll. Doing it backwards is the single most common reason a tidy timeline comes apart.
The short version
Premiere has no auto zoom, and it probably will not get one. Build the preset first: adjustment layer, two Scale keyframes, ease both, Save Preset with Anchor to In Point. That covers a channel with predictable rhythm and costs nothing. Move to a plugin when the placement decisions — which sentence, which cut, which face — are what is eating your evening, and when you want them centred on a face rather than the middle of the frame. Then spend five minutes on amplitude, duration and easing rather than trusting a default; that is where a zoom stops looking automated. If you are choosing a plugin, the FireCut alternatives and AutoCut alternatives comparisons price the whole field, and Auto-Zoom has its own page in our help centre.
Frequently asked questions
Does Premiere Pro have an automatic zoom feature?
No. Premiere Pro has Auto Reframe, which scales and repositions a clip to fit a different aspect ratio while tracking the subject — a reframing tool, not a punch-in tool. To zoom automatically on emphasis or on cuts you either build a Scale keyframe preset yourself or install a plugin such as FireCut, AutoCut, PremiereCopilot or Black Hat Editor Tools.
How do I create a zoom-in effect preset in Premiere Pro?
Put an adjustment layer above your clip, select it, open Effect Controls, click the stopwatch on Scale at the start, set the end value to about 108, ease both keyframes, then right-click the Motion effect and choose Save Preset with Anchor to In Point. The preset then drops onto any adjustment layer and starts wherever you place it.
How much should I zoom on a talking head?
Between 104% and 112% for long-form: enough to read as a change of shot, not enough to notice the crop. Vertical and short-form tolerate 115–138% because the whole format is more aggressive. Past 120% on footage that matches your sequence resolution, you also start to see the softening from upscaling.
Why do my automatic zooms look cheap?
Almost always the easing and the amplitude. Linear keyframes and a 130% target on a long-form talking head read as a machine. Ease in and ease out, drop the target to 108%, stretch the duration to 12–18 frames, and space the zooms at least 8 seconds apart. Then vary the values slightly so thirty zooms are not the same zoom thirty times.
Is there a free automatic zoom plugin for Premiere Pro?
Yes, two free routes. PremiereCopilot's free plan includes Auto Zoom with a daily counter of 4 zoom/viral/chapter runs. Black Hat Editor Tools includes Auto-Zoom in its free plan, which needs no card (the plan's 2-renders-a-day cap applies to generation, not to Auto-Zoom). Beyond that, a saved effect preset costs nothing at all and is the right answer if your placement is predictable.
Do automatic zooms damage my original clips?
It depends on the tool. Ours places every zoom on its own adjustment layer on a dedicated track, so the clips underneath are untouched and you can select the track and delete it in one go. Tools that write Scale keyframes directly onto clips have to be undone clip by clip. Check this on a thirty-second test before running anything on a client project.
Does face detection send my footage anywhere?
In our plugin, no: the SSD MobileNetV1 model ships inside the panel and runs locally, offline, with no frame leaving the machine. Other tools may transcribe or analyse in the cloud — if your footage is under NDA, that is a question to ask the vendor in writing before you install anything.